Excel is far more than a mere spreadsheet application that allows you to store and manipulate columns of data. When Microsoft launched their applications, they included the power of visual basic for applications, known as VBA, which allows a user access to a powerful set of visual basic programming commands within their office applications. The if statement within excel is an excellent example of how the power of VBA can transform a spreadsheet into a powerful application.
This tutorial will show you how the if statement functions as was as to how to nest if statements to create powerful calculations within your Excel spreadsheet. This tutorial assumes that you have a solid foundation in using Excel spreadsheets. It assumes that you know how to create a spreadsheet, how to add columns of data. It also assumes you have a basic understanding of how to manipulate the data within an Excel spreadsheet. If you want to get a solid foundation you need to follow this tutorial then Excel Courses available on our website will teach all you need to know.
Before we begin a practical example of the nested if statement in excel, you need to know how the if statement works, to begin with.
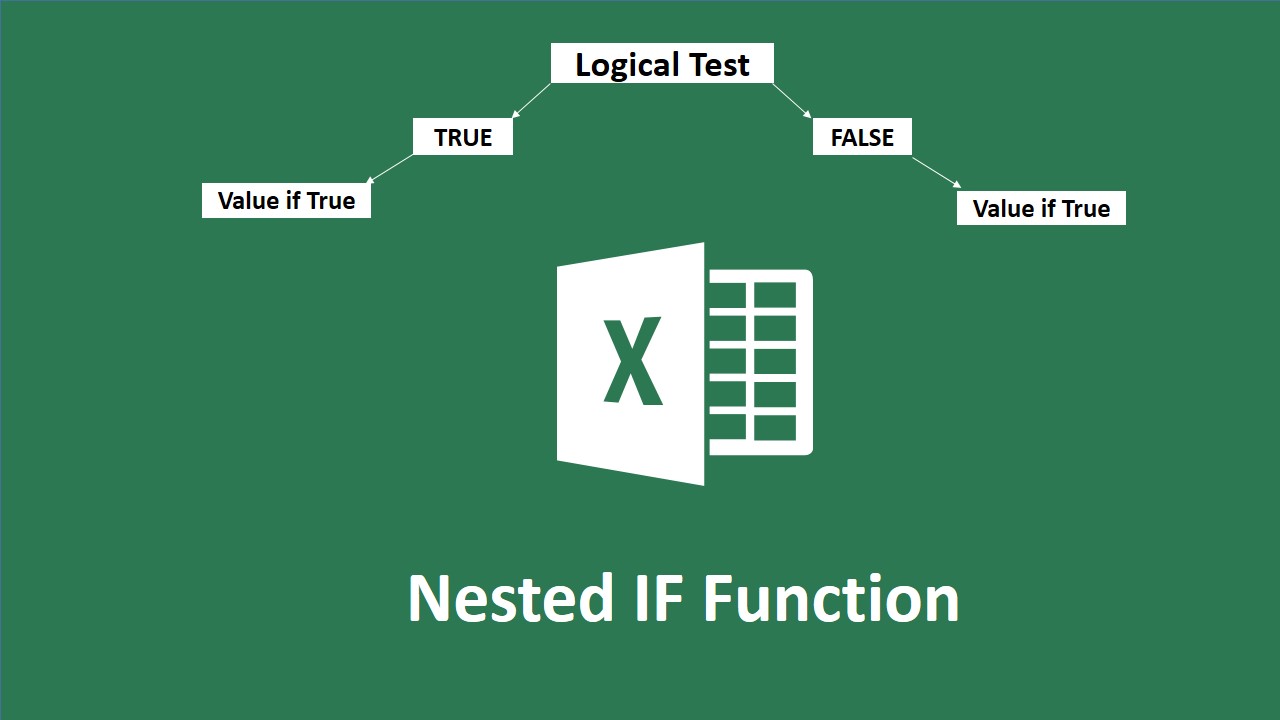
As per the heading, we’ll refer to this as NESTED IF from here onwards. In brief summary, the Excel NESTED IF function performs a user instructed logical test, if that test is TRUE, it performs an action, if it's FALSE, it does another action. Learning how to nest IFs will open up your spreadsheet to an advanced level and really expand your horizons!
=IF(logical_test,[value_if_true],[value_if_false])This is one of the most useful in Excel. When harnessed and nested (using multiple IF functions in one), you can have one very powerful multi-levelled formula in ONE cell that performs an astonishing number of logical tests.
logical_testAs per Excel, it defines this part of the syntax as “any value or expression that can be evaluated to TRUE or FALSE.”. This is where you make your test of a cell, see below under Examples for more detail.
[value_if_true]As per Excel, it defines this as “the value that’s returned if Logical_test is TRUE, if omitted, TRUE is returned. You can nest up to seven IF functions”
There is a limit of 7 nested functions, but only up to Excel 2007. Since then, it’s been increased to 64 IF statements in ONE formula. I’ve yet to get there! If you start getting into 15 levels and above you might want to revisit your methods in how you create the logical tests.
[value_if_false]As per Excel, it defines this as “the value that’s returned if Logical_test is FALSE, if omitted, FALSE is returned.
It’s here where NESTING typically begins and we’ll make this clear by looking at a simple example and visualizing how the process tree works when following it through.
The IF function is a function that allows you to compare a value and then to manipulate that value depending on the value. The easiest way to understand the IF function is to compare the function to a real-life if statement. If it rains we’re ordering in but if the weather is good we’ll go out. The if function in programming works exactly the same way as our real-life statement. The program evaluates the condition – is it raining – and depending on whether the answer is true or false, the if function then performs a set of instructions.
A Nested IF statement is simply an if statement that is declared within another if statement. Using our raining example – let’s add another if by saying that if we are going out then if it’s the afternoon we’ll go for a picnic but if it's an evening we’ll go for pizza. Excel evaluates the statement in exactly the same as we would. It would first check if it’s raining. It would then move onto the next if statement and check whether it’s afternoon or evening. The most important thing about using an if statement in excel is to ensure that the program logic is indeed logical.
So let us create an example in excel which we can use to demonstrate how the nested if statement works.